


How to Repair Engineered Wood Flooring
How to Repair Engineered Wood Flooring: A Complete DIY Guide
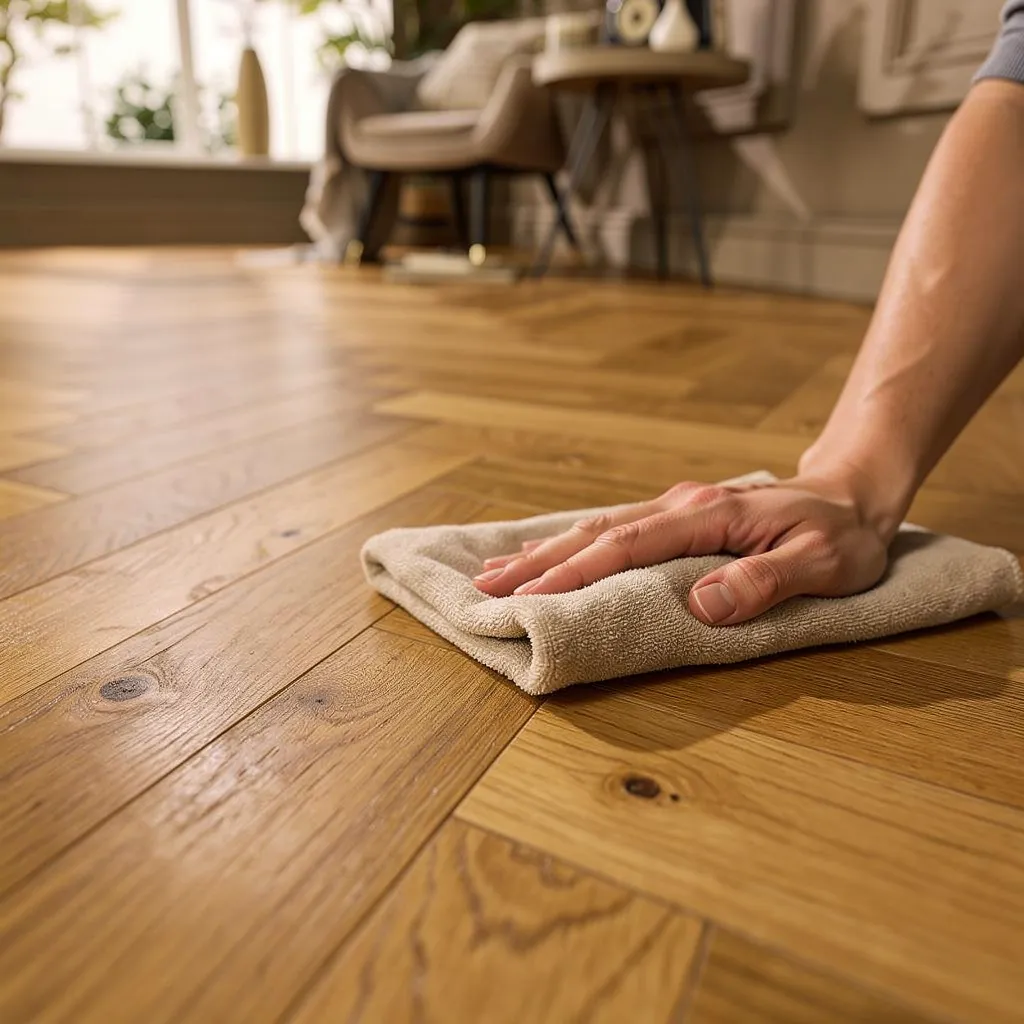
Repairing engineered wood flooring starts with the right toolkit and a clear understanding
Scratches and dents in engineered wood flooring sand out easily since the top layer is real wood veneer. Deeper gouges or water damage often need board replacement. Knowing the damage type first tells you which repair method to use.
Engineered wood flooring repair depends on damage type: light scratches respond to wood filler and matching stain. Deep gouges require sanding the top veneer layer. Gaps get filled with flexible wood filler. Single damaged planks are cut out and replaced individually, preserving the multi-layered structure that gives engineered floors their durability.
Key Takeaways
-
Engineered wood flooring withstands scratches, dents, and water damage through proper maintenance and repair techniques.
-
Minor scratches, dents and gouges are usually DIY fixes, while deep damage reaching the core calls for plank replacement.
-
Regular care restores engineered wood flooring to like-new condition without requiring professional repair services.
-
Most repairs, from filling gaps to replacing a single plank, need only basic tools and careful preparation.
What Do You Need Before Repairing Engineered Wood?
Repairing engineered wood flooring starts with the right toolkit and a clear understanding of the floor's finish. Skipping preparation risks mismatched repairs, wasted materials, and boards that never sit flush again. Homeowners who gather everything first save time and avoid a second trip to the hardware shop mid-job.
A short list of core tools covers most repair engineered wood flooring jobs:
-
Tape measure, for measuring the damaged area and any replacement plank before cutting
-
Saw, a handsaw for a single board or an electric saw when several cuts are needed
-
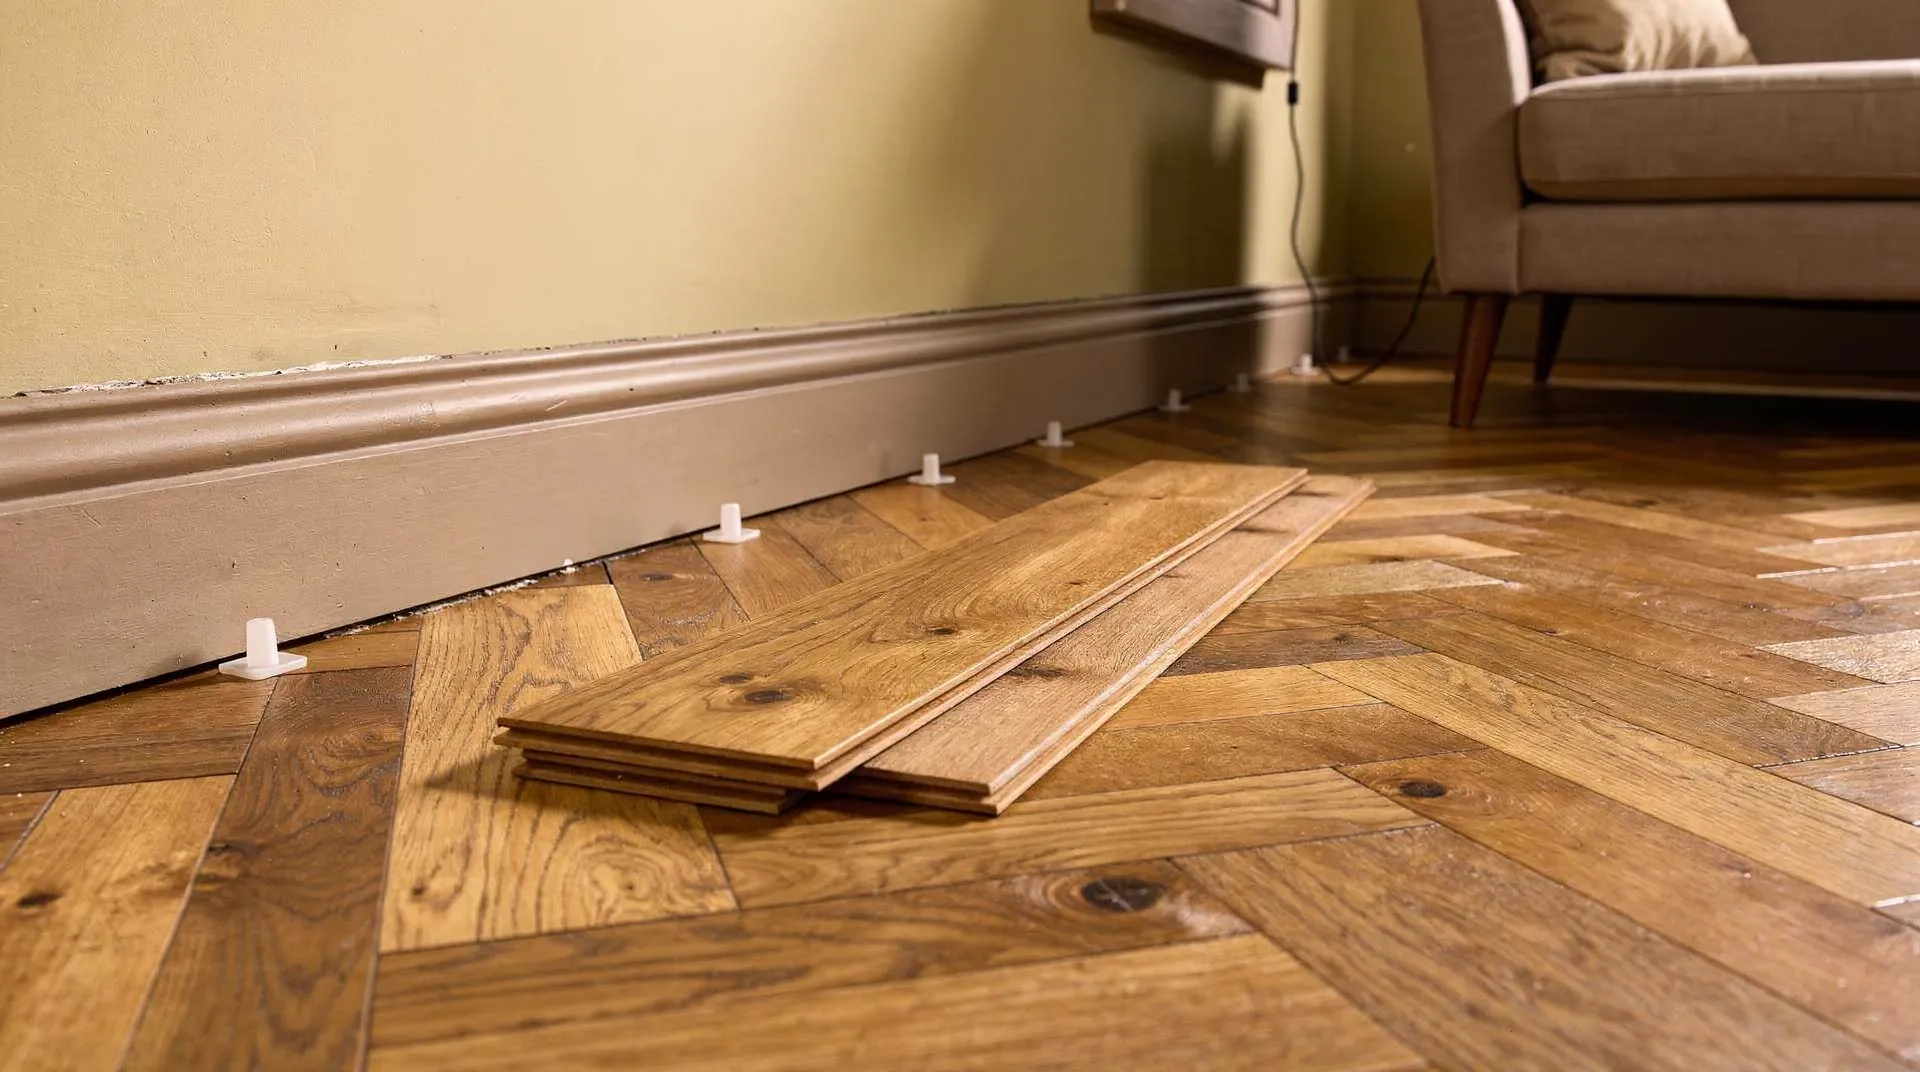
Spacers, to hold the correct expansion gap around the room while boards are lifted or refitted
-
Rubber mallet, for tapping replacement planks into place without damaging the edges
-
Pencil and ruler, for marking accurate cut lines
Accuracy matters more than speed here. A tape measure that's off by even a few millimetres can leave a replacement plank sitting proud or gapped against its neighbours. Double-check measurements before any cut is made.
Why does the floor's finish matter before repairing?
Identifying whether the floor carries a UV lacquer, an oil, or a wax finish comes before any sanding or patching begins. Each finish reacts differently to abrasion and to refinishing products, so treating a waxed floor like a lacquered one often leaves visible patchiness. Testing the repair product on an offcut or a hidden board first confirms the match before work starts.
How do spacers help during a repair?
Spacers keep the expansion gap consistent once boards are lifted for repair. Engineered wood shifts slightly with temperature and humidity, and removing that gap risks buckling later. Understanding how to repair engineered wood floors properly means restoring that gap exactly as it was installed.
How Do You Fix Scratches And Dents Yourself?
Surface scratches and small dents on engineered wood floors respond well to home repair, without the need for professional intervention. Many common issues, from light scuffs to shallow gouges, get fixed using basic tools and the right technique. Despite its reputation for durability, engineered flooring still shows signs of wear over time, much like any other flooring type exposed to daily foot traffic and furniture movement.
Before starting any repair, identify the surface finish on the boards. Oiled, lacquered, and UV-coated finishes each demand a different treatment, so using the wrong product risks discolouration or a mismatched sheen.
How to repair engineered wood floors for scratches and dents follows a fairly consistent process:
-
Clean the damaged area thoroughly to remove dust and grit.
-
Assess the depth of the scratch or dent to confirm it hasn't reached the core layer.
-
Apply a finish-matched wax stick or repair pencil to shallow scratches, working it into the groove.
-
Use a wood filler suited to the veneer colour for deeper dents, then smooth flush with the surface once dry.
-
Buff the repaired area gently to blend it with the surrounding finish.
Why Do Engineered Floors Resist Damage Better Than Solid Wood?
The multi-layered construction behind repair engineered wood flooring projects gives boards structural strength suited to hallways, living rooms, and other high-traffic zones. That layered build limits how easily scratches and dents form in the first place, compared with single-layer solid hardwood.
Does A Scratch Mean The Board Needs Replacing?
Rarely. Most surface-level marks sit within the top veneer and respond to spot treatment rather than full board removal. Deeper gouges reaching the core layer are the exception. Those cases usually call for closer inspection before deciding on a repair method.
How Do You Close Gaps Between Floorboards?
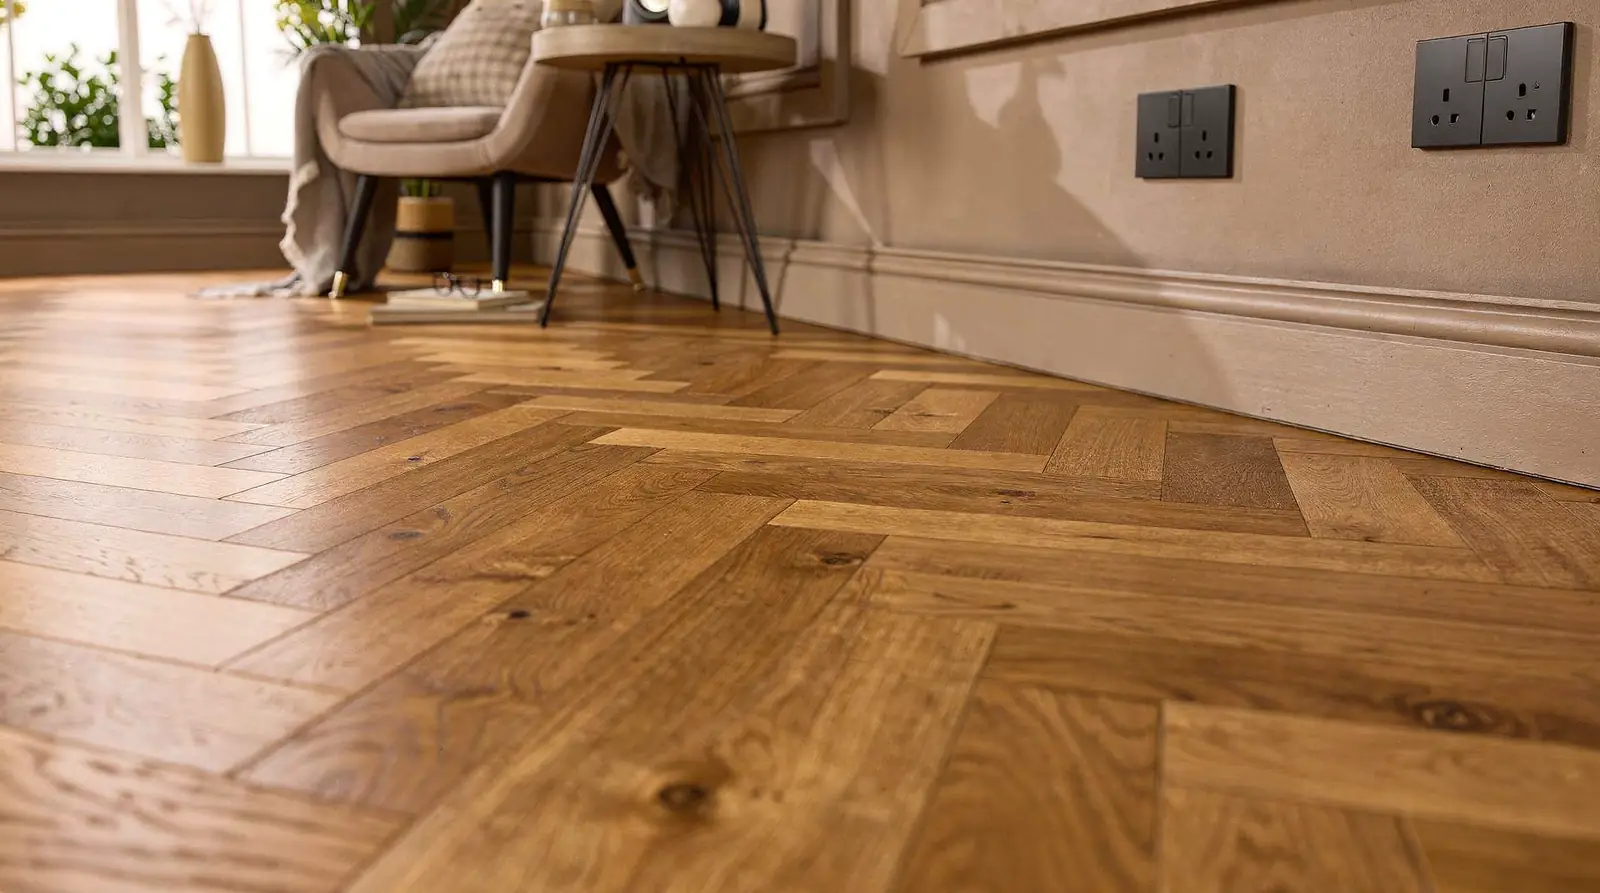
Gaps between floorboards usually trace back to the expansion allowance left during installation. Spacers create this gap around the room's perimeter. Over time, shifts in temperature or humidity cause that allowance to move, opening spaces between individual boards. Closing these gaps starts with understanding why engineered wood behaves this way rather than treating each gap as a one-off flaw.
A correctly fitted floor relies on underlay to support board stability. An uneven or worn underlay layer often explains recurring gaps. Before touching any tools, a careful inspection matters: check for scratches, stains, or signs of warping alongside the gaps themselves. These issues often share a common cause.
What causes gaps to reappear after repair?
Reappearing gaps typically point to an underlying seasonal movement pattern rather than a failed fix. Boards expand and contract with humidity changes, and without adequate underlay support, that movement concentrates at weak points between planks.
How should the repair process begin?
Repair work should follow a clear sequence rather than jumping straight to filler or adhesive.
-
Inspect the affected area for scratches, dents, stains, or warping alongside the gap.
-
Check whether the expansion gap around the room's edge has closed or narrowed, which can push movement into the field of boards.
-
Assess the underlay for flattening or damage, since this affects how boards sit against each other.
-
Identify the installation method, as most repair engineered wood flooring projects involve a tongue and groove fit, which influences how boards can be eased back together.
Only after this diagnostic stage does filling, re-fitting, or replacing a board make sense as a lasting fix.
How Do You Replace A Damaged Plank?
Replacing a damaged plank starts with identifying how the floor was originally fitted. Engineered wood flooring most often uses a tongue and groove installation method. Some newer ranges use a click system instead. That distinction dictates every step that follows. A tongue and groove board must be worked out of its joint differently than a click-fit one.
Confirming the fitting method before cutting anything matters. Forcing the wrong removal technique risks splitting a tongue or cracking a groove edge on the boards either side, turning a single-plank fix into a much larger repair job. Follow these steps once the installation method is confirmed:
-
Check the joint type on an inconspicuous board to see whether the floor uses tongue and groove or click-fit construction.
-
Score along the seams of the damaged plank with a sharp blade, working carefully to protect the wear layer above the plywood core.
-
Split and lift the plank in sections, following the joint pattern rather than prising it up whole.
-
Clean the subfloor area of adhesive residue or debris before fitting the new board.
-
Fit the replacement plank, matching its tongue or click edge to the surrounding boards exactly as the original installation required.
Does the plywood core affect how a plank is removed?
Yes. The plywood or HDF core beneath the veneer gives engineered boards more resistance to humidity than solid wood, which helps during removal. That stability still doesn't protect the thin top veneer, so cutting and lifting sections needs a careful, patient approach rather than brute force.
Can homeowners repair engineered wood flooring damage themselves?
Minor scratches, dents, and single-plank swaps are usually manageable as DIY jobs. Full board replacement across a wider area, or substantial water damage beneath the surface, often calls for professional assessment instead of a home repair attempt.
What Mistakes Should You Avoid During Repairs?
Four errors account for most failed repairs on engineered wood floors: rushing the assessment, skipping the expansion gap, ignoring underlay, and working without the right tools. Each mistake looks minor at the time but shortens the life of the fix.
Homeowners often replace a damaged board without checking how far the problem extends beneath the surface. Assessing the full extent of the damage first determines whether a scratch needs filler or a plank needs full replacement. Skipping this step leads to the wrong repair method and wasted materials.
Why does the expansion gap matter for a repair?
Boards expand and contract with changes in humidity and temperature. Leaving out spacers when refitting a section removes the small gap that absorbs this movement, and buckling appears months later, often far from the original repair site.
Does underlay affect a small patch repair?
Yes. A patched section without proper underlay sits unevenly against the subfloor, creating a wobble or gap that spreads stress to neighbouring boards. Underlay should stay consistent across the whole floor, not just the original installation.
Working without correct equipment causes the fourth common failure:
-
A saw cut without the right blade splinters the board edge.
-
Missing spacers means an inconsistent expansion gap.
-
Skipping a rubber mallet risks damaging the tongue-and-groove joint during fitting.
FAQ
What tools do you need before repairing engineered wood flooring?
A repair toolkit includes a tape measure, saw, spacers, rubber mallet, and pencil and ruler. These tools measure damage, cut replacement planks, maintain expansion gaps, and fit boards without damaging the edges.
Why does the floor's finish matter before starting repairs?
UV lacquer, oil, and wax finishes each react differently to abrasion and refinishing products. Treating a waxed floor like a lacquered one leaves visible patchiness, so identifying the finish first ensures a proper match.
How do you match a replacement board to existing engineered wood flooring?
Start with any leftover boards from the original installation, as these match exactly. Otherwise, match the wood species, board width, wear layer thickness, finish and joint type (tongue and groove or click), and compare a sample against the existing floor in natural light before buying.
Conclusion
In closing, engineered wood flooring's layered construction makes many repairs straightforward when tackled promptly. Surface scratches and minor dents respond well to targeted fixes, whilst deeper damage often requires professional assessment to determine whether repair or replacement suits the affected area. Regular maintenance, prompt spill cleanup, appropriate humidity control, and preventative care, extends the lifespan of repairs and reduces the frequency of future damage. Understanding your flooring's specific construction and limitations ensures repairs hold effectively over time.


