The Journey of a Sample: Why a 10cm Piece Decides a 100m² Purchase
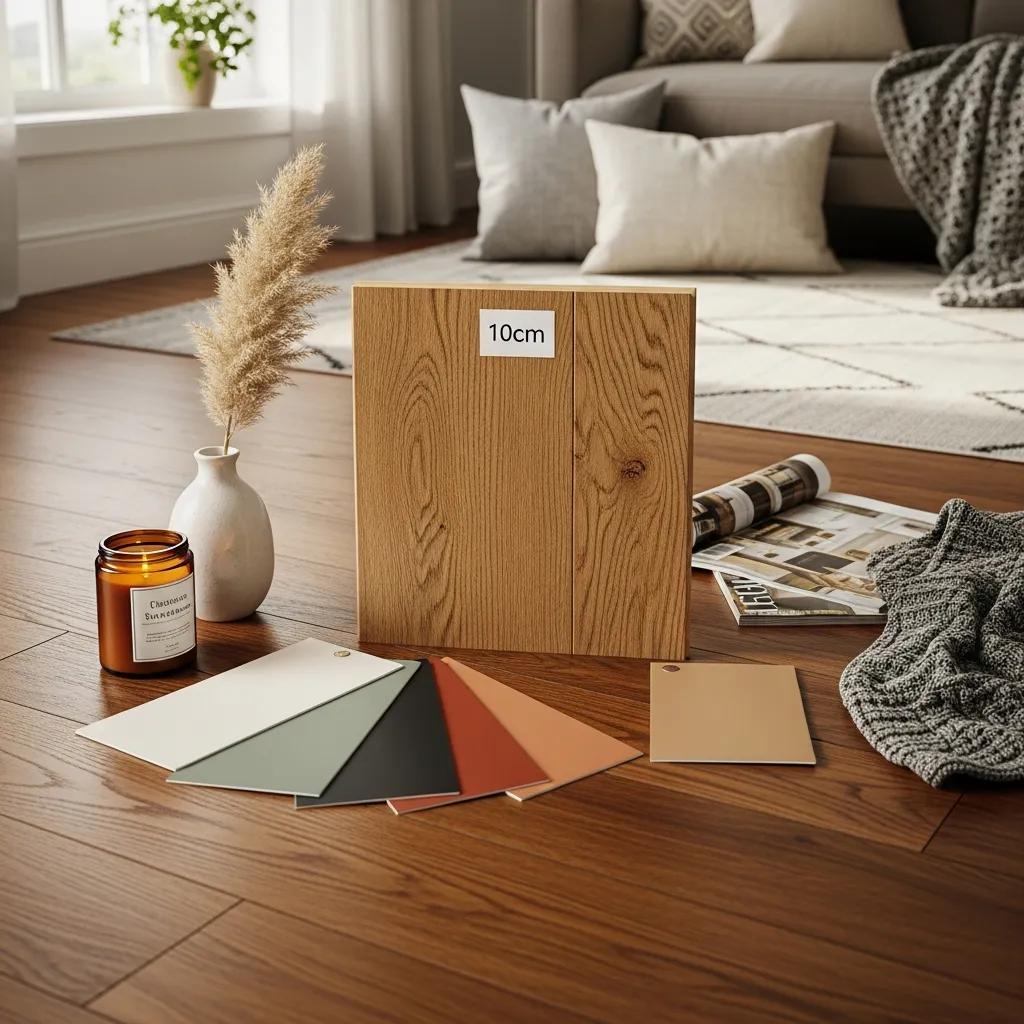
A 10cm flooring sample can decide a 100m² purchase because colour, texture and light interact differently at scale. Seeing a swatch in your room shows how tone shifts, how the surface feels underfoot and whether the finish suits daily life — giving you confidence while cutting the risk of costly mistakes. This guide shows how tiny swatches reveal real-world behaviour, which samples to order, and how to test them so one piece can stand in for an entire room. Photos alone often mislead; testing a sample in situ gives clear evidence about tone changes, comfort and durability before you buy. We walk through why samples matter, how to pick the right ones, repeatable at‑home tests, ways to visualise a 10cm piece across 100m², and practical tips for ordering fast or free samples. Along the way you’ll find checklists, comparison notes and simple experiments to turn a tactile swatch into a confident, low‑risk decision.
Why samples matter before you commit to 100m²
Samples give you an inexpensive, in‑place test of colour accuracy, texture, sheen and suitability before you order a large amount. A small swatch reveals how your lighting, neighbouring finishes and room scale change perception, and lets you check underfoot comfort and likely maintenance while the cost and effort are still small. Sampling reduces the chance of choosing the wrong product for your traffic levels or environment and helps avoid expensive replacement on a large floor. Below are the immediate, practical benefits that make sampling the first sensible step in any renovation or new build.
Key benefits of sampling:
- Colour accuracy in situ — see tones under your home’s actual light and beside your furniture.
- Texture and feel preview — test underfoot comfort and surface character before buying.
- Risk reduction — avoid large‑scale mistakes that need costly rework or replacement.
- Durability insight — estimate wear and maintenance needs for the room’s use.
These benefits lead naturally to simple at‑home experiments you can run to validate a swatch’s suitability.
How a sample shows true colour, texture and lighting in your home
A sample reveals how a product behaves in your specific environment: the exact light spectrum, surrounding colours and viewing angles all influence what you see. Move the swatch around — near walls, beside cupboards and under the main light — to spot metamerism and sheen shifts through day and night. Note how warm or cool bulbs change the tone, and whether grain direction or pattern looks right at doorways and across open spaces. Photograph each position at set times and label the images so you can compare changes without confusion. These simple checks explain how a 10cm piece predicts full‑floor appearance and whether it truly fits your palette.
How a small sample prevents costly mistakes
A small sample exposes mismatches and functional issues before you commit to a full order, saving both material and installation costs on a large project. Common errors it catches include tones that clash with cabinetry, materials that won’t withstand heavy traffic, or finishes that show scuffs more than expected. Short, anonymised examples make the point: one homeowner swapped a wood tone after dusk tests revealed an orange cast; another chose a different finish after an abrasion check showed visible wear. Use the checklist below to guard against the most frequent pitfalls — turning a tiny swatch into significant savings on a 100m² job.
Common errors avoided by sampling:
- Tone mismatch with existing furnishings and skirting boards.
- Choosing a product with inadequate abrasion resistance for hallways.
- Underestimating visible seams or pattern repetition when fitted at scale.
With mistakes reduced, the next step is choosing the right samples for your home.
How to pick the right flooring samples for your home
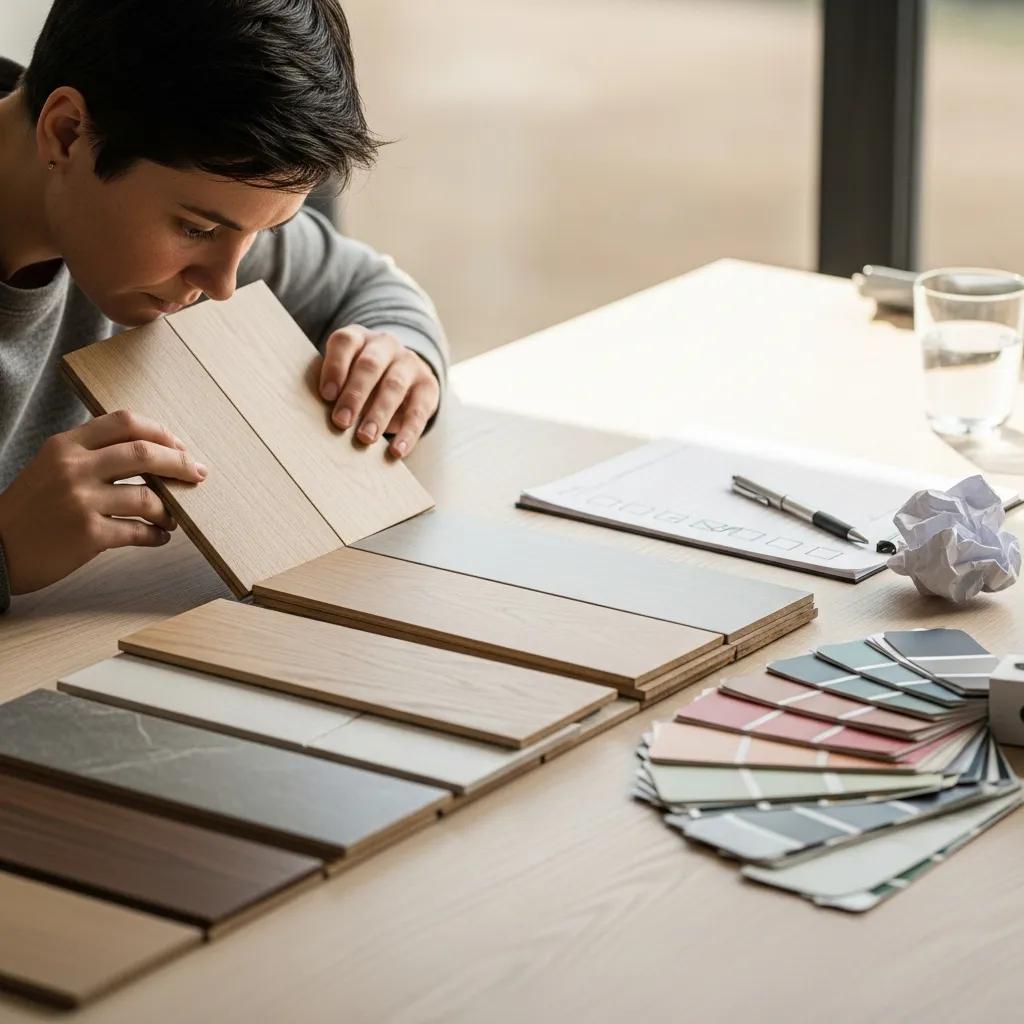
Start by matching material properties to the room’s use and your household lifestyle so a small swatch can represent full‑scale performance. Think about types such as oak (engineered), laminate, vinyl/LVT, tile and carpet — each has different durability, water resistance and care needs. List the room’s traffic, exposure to moisture and comfort priorities, then order a range of tones and material options to compare side‑by‑side. Follow the short checklist below to prioritise which swatches to request and test at home; this decision process helps you order samples that cover both aesthetic and practical variables.
Stepwise checklist to choose samples:
- Assess room use and traffic to shortlist appropriate materials.
- Consider moisture and maintenance to filter water‑tolerant choices.
- Pick 3–6 samples across tone and material for direct comparison.
- Include variations in plank width and finish to judge pattern and scale.
To compare types quickly, use the table below summarising key attributes and suitable rooms — it makes ordering targeted samples straightforward.
| Material Type | Durability | Water Resistance | Maintenance | Best Rooms |
|---|---|---|---|---|
| Oak (engineered) | High | Moderate | Regular cleaning; occasional refinishing | Living rooms, bedrooms |
| Laminate | Moderate–High | Low–Moderate | Easy cleaning; avoid standing water | Living rooms, hallways |
| Vinyl / LVT | High | High | Low maintenance; very durable | Kitchens, bathrooms, utility rooms |
| Tile | Very high | Very high | Simple to clean; grout care needed | Wet rooms, kitchens |
| Carpet (sample) | Variable | Low | Regular vacuuming; spot cleaning | Bedrooms, low‑traffic living areas |
This comparison narrows options quickly and helps you decide how many and which variations to test.
Which lifestyle, room and decor factors shape your sample choices?
Your lifestyle and how you use each room should direct which samples you prioritise. Pets, children and humidity increase the risk of wear and stains, while bedrooms and sitting rooms often prioritise comfort and tone. Pet‑friendly homes benefit from scratch‑resistant, water‑tolerant samples like LVT or hard‑wearing engineered finishes; bedrooms may favour warmer wood tones or carpet for comfort. Open‑plan layouts need attention to colour continuity and plank width, since transitions become more noticeable across larger areas. Use the persona suggestions below to match sample choices to typical household patterns and make sure your selection reflects real life.
Persona‑led suggestions:
- Pet households: prioritise scratch‑resistant, water‑tolerant options.
- Family kitchens: choose easy‑clean, high‑abrasion samples for spills and heavy use.
- Design‑led homes: sample several tones and plank widths to achieve cohesion.
Once you’ve matched samples to lifestyle, decide how many variations to test for a reliable comparison.
How many samples should you test for a confident choice?
Test three to six samples: enough variety to spot differences, but not so many you get overwhelmed. Order a neutral mid‑tone, a lighter and a darker option, plus at least one alternative material (for example, engineered oak and an LVT option) to compare look and performance. Lay samples side‑by‑side in the target room and photograph them at different times to see lighting interaction. Label each sample with room and date, observe for 48–72 hours, and prioritise the one that performs consistently across tests. This method gives clear, comparable evidence to support a large‑area purchase.
Testing samples at home — lighting, feel and durability
Home testing gives repeatable checks for colour stability, underfoot comfort and likely lifespan so a 10cm piece can reliably predict a 100m² floor. Use simple, structured tests — lighting checks, tactile assessments and basic durability simulations — to reveal issues photos or showroom floors may hide. The table below organises common at‑home tests and the observations you should expect, so you can judge samples consistently. Write down findings after testing to compare objectively rather than relying on memory.
Practical tests to run:
- Lighting test — view the sample at midday, dusk and under your artificial bulbs to spot colour shifts.
- Tactile test — try barefoot and shoe tests to assess comfort, sound and edge feel.
- Durability test — simulate light abrasion and spills to check wear and cleanability.
Use the recommended testing table to keep results standardised.
| Material | Test | Typical observation |
|---|---|---|
| Engineered oak | Lighting test | Tone may look warmer under incandescent or warm LED bulbs |
| Laminate | Scratch test | Surface can show light abrasions from sharp objects |
| Vinyl / LVT | Spill test | Water usually beads and wipes clean with minimal residue |
| Carpet sample | Compression test | Pile recovery indicates resilience to foot traffic |
| Tile | Impact / feel test | Very hard and durable; feels cold underfoot |
This testing matrix helps you interpret results consistently and prepares you to visualise the full‑floor effect from a single sample.
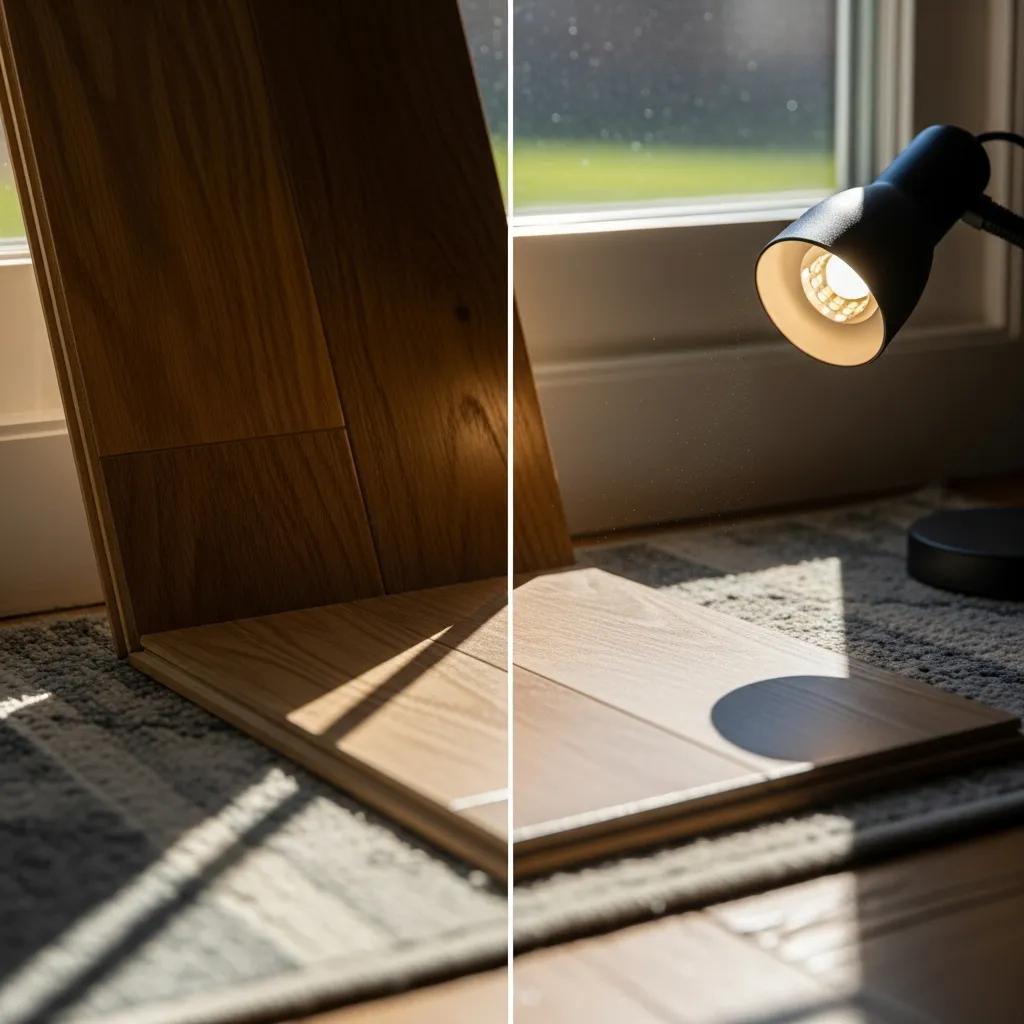
How daylight and artificial light change sample colour and finish
Daylight and artificial lights alter apparent colour and sheen because each source has a different temperature and spectrum that interacts with a material’s pigments and finish. Test samples at midday and in the evening under your actual bulbs — cool LEDs, warm halogens or other fittings — to see how tones shift and whether gloss highlights or hides grain. Check reflections from oblique angles to spot gloss differences and metamerism, where two samples match in one light but differ in another. Recording these observations gives a clear basis for choosing a finish and colour that behave well in the lighting you use day to day.
How to assess texture, underfoot comfort and wear resistance
Judge texture and comfort with barefoot and shoe tests, plus small abrasion or spill checks suited to the material. Walk on samples in socks and shoes, check bevels and edges for trip issues, and try a discreet scratch test with a key or coin on an unseen edge to assess surface resistance. For finishes, dab a diluted spill and clean with a typical household cleaner to ensure the material tolerates routine maintenance without colour loss. These tactile experiments provide practical insight into long‑term comfort and performance, making your final choice easier to predict.
Visualising 100m² from a 10cm sample — bridging the scale gap
To imagine a full 100m² floor from a small swatch, use simple tools and rules of thumb that show pattern repeat, plank width and grain direction. Low‑tech approaches — taping out a scaled area, laying multiple samples end‑to‑end or creating a photographic mock‑up from eye height — give a realistic preview of tone continuity. Digital visualisers help, but always check on real samples in your lighting to catch metamerism or gloss differences software might miss. The list below outlines straightforward visualisation techniques anyone can use without specialist tools.
Visualisation techniques:
- Tape a 1:10 grid or mock‑up area to represent plank layout and repeat.
- Lay several samples in sequence and photograph them to preview seams and flow.
- Use printed scaled templates to test plank width and how grain reads across the room.
These methods make it easier to judge whether a sample’s look will hold up when installed over a large area and naturally lead to real examples of sample‑driven decisions.
Tools and cues that help translate a small sample to a large space
Paper templates, taped mock‑ups and digital visualisers all help translate a swatch to a full floor by revealing pattern repetition and proportion in context — things a single 10cm piece cannot show. Taped layouts let you test grain direction and border transitions; photos of multiple pieces end‑to‑end reveal tone shifts and repeat. Pay attention to plank width, grain contrast and gloss level — these cues become more noticeable at scale and might change choices like herringbone versus wide planks. These low‑tech checks complement digital tools and give a tangible sense of the finished look.
Real examples of sample‑led decisions
Short real‑world examples show sampling’s value: one homeowner rejected a warm oak after dusk testing revealed an orange cast; another chose LVT over engineered wood after a simple kitchen spill simulation exposed the better water performance. These anonymised snippets underline the core lessons: test in the actual space, compare materials against your lifestyle, and favour samples that perform consistently across lighting and tactile checks. Keeping a brief record of observations — what changed, why, and the installed result — helps contractors and installers and reduces surprises on site. These takeaways show how sampling leads to confident, cost‑effective choices.
Ordering free samples and logistics — get them quickly and use them well
Efficient sampling starts with a clear plan: decide which swatches to request, group orders to reduce delivery costs, and schedule tests to fit measurement and installation timelines so sampling speeds the project rather than delaying it. Many suppliers offer free or low‑cost samples; use a short curated list to order a representative set covering tone, material and plank variation. Below is a simple ordering procedure and a comparison table to help you choose between free swatches, paid larger samples and sample kits. Good logistics make sure samples arrive in time for accurate measuring and installer input.
How to order and manage samples:
- Choose 3–6 priority samples using the earlier checklists.
- Order them together where possible to compare side‑by‑side.
- Label each swatch with room name and arrival date to track observations.
To help decide, the table below summarises common sample options so you can balance speed and fidelity when planning your sampling.
| Sample Option | Typical Size | Cost | Delivery Speed |
|---|---|---|---|
| Free swatch | 5–10cm | Free | Standard (3–7 business days) |
| Paid larger swatch | 20–30cm | Small fee | Expedited available |
| Sample kit (multiple) | Assorted | Varies | Often faster with consolidated shipping |
This comparison helps you choose between speed and the fidelity you need for testing before installation.
How to order free samples and handle delivery
Ordering free samples is usually straightforward: pick a curated set online, add notes about the room and installation timing, and group items to simplify shipping. Track delivery and label each swatch on arrival with material codes, room assignment and date. Allow a few days for transit so you can test samples under different lighting conditions before deciding. If a delivery problem arises, contact supplier customer service for dispatch details and ask about returning or responsibly disposing of unwanted swatches. Labelled and photographed samples create a useful audit trail for you and your installer when ordering the full 100m².
Pro tips to speed up sampling and plan your purchase
Batch orders, allow multi‑day observation and coordinate measurements and contractor schedules early so sampling becomes momentum, not a bottleneck. Order samples at least three weeks before planned installation to allow time for testing, decision‑making and accurate measuring, and share chosen swatches with your installer or designer so they can confirm compatibility and advise on fitting. Use the short timeline below to structure the process from ordering to installation so sampling slots into the project smoothly and avoids last‑minute changes.
Optimised sampling timeline:
- Order samples and expect delivery within 3–7 days.
- Test samples across 48–72 hours and document findings.
- Decide, measure accurately, and place the full order allowing lead time for delivery and installation.
Following this pipeline turns a 10cm sample into a reliable path toward a 100m² installation, reducing the chance of costly surprises. Many suppliers make sampling simple and affordable, so ordering curated free swatches is often the easiest first step to finding the right floor for your lifestyle and getting purchase confidence on larger projects.
**


About The Author